As I explained in my blog post "Playing tricks with Powerpoint" there's a simple technique for exporting individual Powerpoint slides as GIF, JPG or PNG image files. This post explains how I combined this with a little sound recording to make a video of some tutorial exercies about Supply Chain Management (SCM). The result is certainly not sophisticated, but it is a reasonable representation of what happend in the classroom (see previous blog post "Capturing the moment")
"First catch your hare"
The "ingredients" for this mix were as follows:
(a) A two-slide Powerpoint presentation on SCM terminology, used for a taught preamble to the tutorial session.
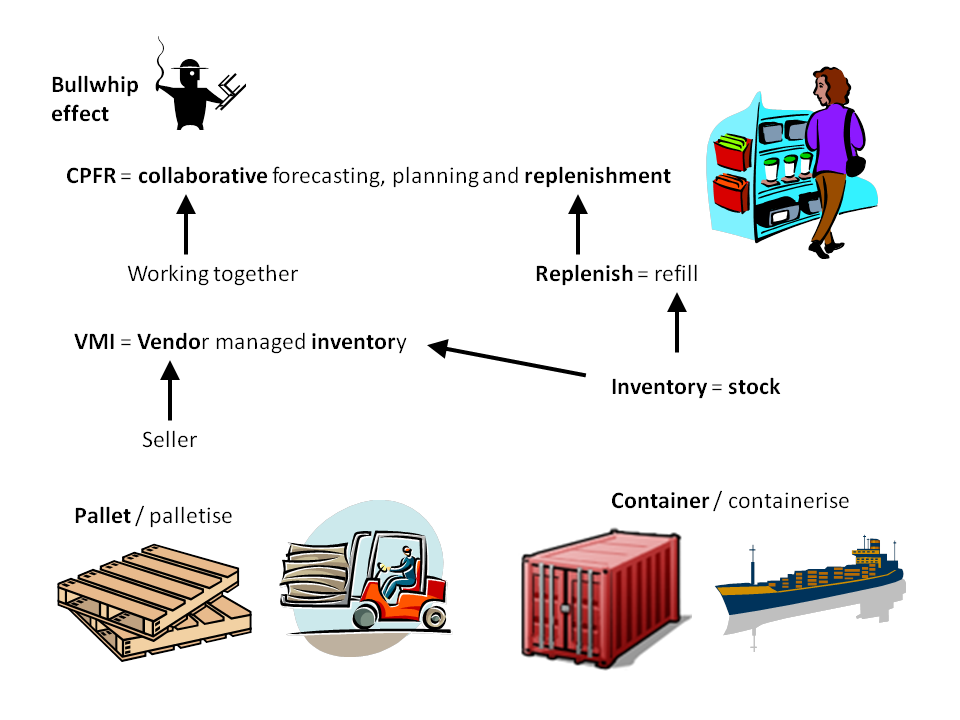 |
| Slide 1 - a straightforward Powerpoint slide, with ClipArt graphics. |
 |
| Slide 2 - a Powerpoint slide incorporating a camera shot of an A5 sized hand sketch. The flash lighting is a little uneven, but it's fit for purpose. |
(b) A larger (A4) hand sketch, prepared before the session, which was my guide for building up a diagram on the whiteboard. This discussion-based activity was the main part of the tutorial.
We're lucky enough to have multi-function printers at work that can scan and email the results to you as a PDF (otherwise I would have used my home scanner and scanned direct to PNG or similar).
I opened the emailed PDF, captured the image using PrtScreen, then used Paint.Net to trim it and convert it to an image. It was virtually the same aspect ratio (height to width) as the Powerpoint images, so I didn't have to do any resizing - if it had been an odd aspect ratio I could have got it to exactly the same size if needed by importing the image into a Powerpoint slide and exporting the slide as PNG.
 |
| Image 3 - draft sketch for work on whiteboard |
(c) During the session I did a voice recording using a digital recorder and a clip-on microphone. The results are fairly clear even though the session was noisy at times. I then imported the sound file into the Audacity sound editor, trimmed out the parts I didn't need, and split the recording into three MP3 files, each corresponding to one of my images. (There will be a future blog post on sound recording hardware and software)
Putting it all together
Movie Maker tends not to come on new PCs nowadays, but it's a a free download. You can use any video editor of your choice - Movie Maker is one of the simplest around.


In principle the steps are:
- Import the images and get them in the right order
- Import the corresponding sound files and get them in the right order
- Increase the duration of each image to match the length of its sound file
- Export the movie to an appropriate format for your video hosting service such as Vimeo or YouTube (Movie Maker's export format choice is rather restricted, but good enough for most video hosting services)
- Upload the movie to your chosen video hosting service
- Copy the "embed code" from your video host
- Put suitable pointer announcements and links on Blackboard (virtual learning environment) so that the students know it's available
And here is the result - again, rough and ready, but fit for purpose:
A Supply Chain Tutorial for eBusiness level 2 at the University of the West of England from Paul Hulbert on Vimeo.
No comments:
Post a Comment